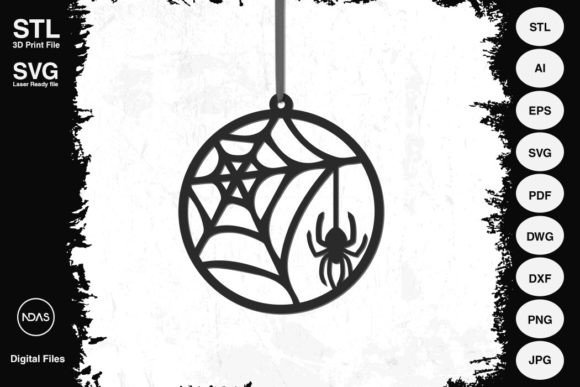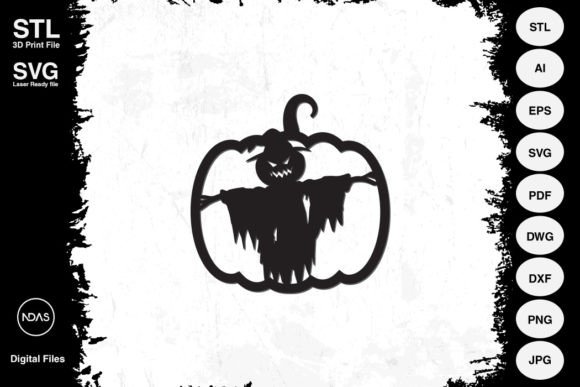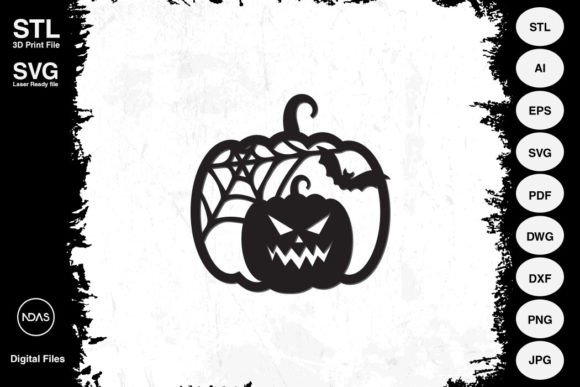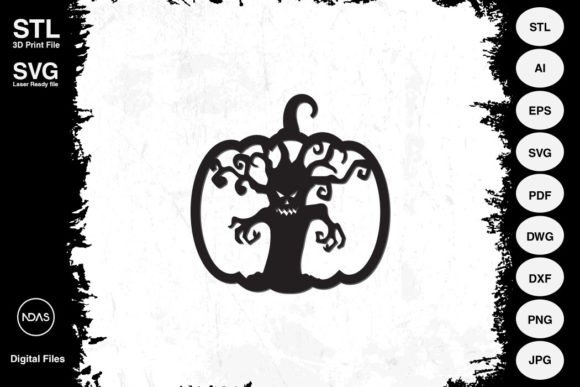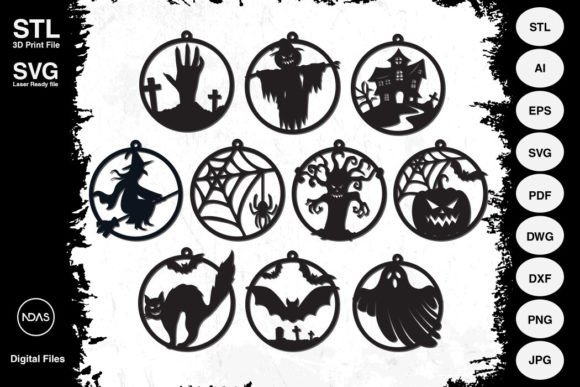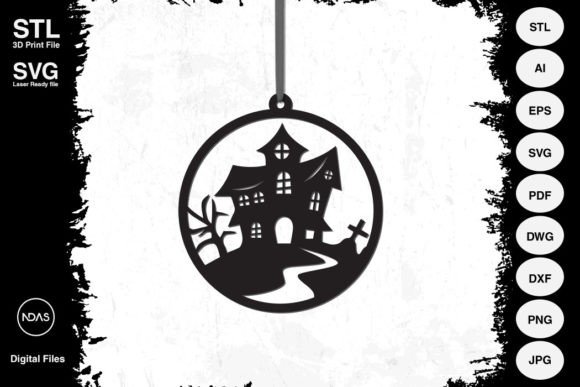
Halloween Haunted House Decor Ornament
Creating the perfect spooky atmosphere for Halloween often comes down to the details. While large inflatable ghosts and glowing pumpkins grab attention, it is the intricate, hanging ornaments that add depth and texture to a haunted house display or indoor party setup. The Halloween Haunted House Decor Ornament has become a popular choice for creators who want professional-looking results without spending a fortune on mass-produced plastic decor. However, before you download any file or cut into your first sheet of material, there are critical distinctions between digital assets and physical goods that can save you time, money, and frustration.
This guide focuses specifically on the versatility of laser-cut and 3D-printed ornament designs. Whether you are a small business owner looking to stock your shop or a hobbyist wanting to decorate your home, understanding the technical specifications and material limitations is essential. The following sections break down what you need to know about these digital files, common pitfalls to avoid, and how to achieve the best possible finish.
Digital Assets vs. Physical Products
The most significant misunderstanding among new buyers involves the nature of the product itself. When purchasing a listing titled "Halloween Haunted House Decoration Ornament Pendent Laser Cut and 3D Print File," it is crucial to understand that you are buying intellectual property, not a tangible object. No physical items are contained in the shipping package. Instead, you receive a comprehensive suite of digital files designed for various manufacturing methods.
A complete package typically includes:
- STL File: Essential for 3D printing. This format defines the three-dimensional geometry of the ornament.
- AI, SVG, EPS, DXF, DWG Files: Vector formats required for laser cutters, CNC routers, and plotter machines like Cricut or Silhouette. These ensure clean lines and scalable precision.
- PDF and PNG/JPG Files: Useful for reference, scaling guides, or direct printing if you are using paper-based crafts.
If you expect a ready-to-hang wooden ornament to arrive in the mail, this purchase will not meet your needs. You must have access to either a 3D printer or a laser cutting/CNC service to bring these designs to life. For those without this equipment, the cost of outsourcing production must be factored into your budget.
Understanding Dimensions and Scaling
Precision matters when dealing with digital fabrication. The standard size for this specific ornament design is approximately 4.5 x 4.85 inches in 2D space. If you are planning to use a 3D printer, the Z-axis height (thickness) is approximately 0.25 inches. While these dimensions work well for standard wall hangings and window displays, the beauty of vector and STL files is their scalability.
However, scaling introduces potential errors. When you enlarge a 2D design for laser cutting, the relative thickness of the cut lines remains constant unless adjusted in the software. A line that is too thin might get lost during the cutting process, while a line that is too thick might leave excessive charred edges on delicate materials. Similarly, when scaling a 3D model, you must ensure that support structures remain viable and that the infill density provides enough strength for a larger piece.
Always preview your scaled design in your slicing software or vector program before committing material. Check that text remains legible and that intricate details do not merge together due to over-scaling. A minor adjustment in the software can prevent a ruined project.
Material Selection and Compatibility
The versatility of this ornament design allows it to be crafted from a wide range of materials. Your choice depends entirely on your fabrication method and the desired aesthetic.
For Laser Cutting and CNC:
- Plywood and MDF: These wood products offer a natural, rustic look. Plywood is generally stronger and more durable, while MDF provides an incredibly smooth surface ideal for painting but produces more dust.
- Acrylic: Clear or colored acrylic creates a modern, sleek appearance. It cuts cleanly and looks stunning when backlit for night-time displays.
- Cardboard and Paper: Perfect for quick prototypes or children’s activities. Ensure you use heavier cardstock for durability if the ornament will be handled frequently.
- Metal Sheets: Thin brass or aluminum sheets can create elegant, industrial-style ornaments, though they require specialized laser settings.
For 3D Printing:
- PLA: The easiest material to print with, offering good detail and color variety. It is biodegradable and rigid.
- ABS or PETG: More durable and heat-resistant options, suitable if the ornaments will be exposed to warmer environments or outdoor conditions.
- Flexible TPU: Can be used if you want a soft-touch finish, though it requires slower print speeds.
Common Mistakes to Avoid
Even experienced makers make errors when working with digital craft files. Being aware of these common pitfalls can significantly improve your final result.
Ignoring Layer Lines in 3D Prints: If you choose a 3D printed approach, layer lines can detract from the smoothness of the design. To mitigate this, use a smaller nozzle size (e.g., 0.4mm or less) and optimize your print orientation. Printing the ornament flat rather than upright can sometimes reduce visible seams.
Underestimating Laser Kerf: When laser cutting, the beam removes a small amount of material, known as kerf. If your design relies on interlocking parts or tight fits, failing to account for kerf can result in pieces that are too loose or won’t fit together at all. Always test cut a small section of your material to calibrate your machine settings.
Neglecting Ventilation and Safety: Cutting certain plastics, such as PVC, releases toxic chlorine gas when heated by lasers. Never use PVC for laser cutting. Additionally, always ensure proper ventilation when working with MDF dust or melting plastics in 3D printers.
Assuming Universal Compatibility: Not all vector files are created equal. Some AI or SVG files may contain complex paths that confuse older software versions. Before purchasing, check the file compatibility list provided by the seller. If you are using free software like Inkscape, ensure the file is saved in a compatible version.
Evaluating Quality Before Purchase
With so many digital marketplaces available, quality varies widely. To ensure you are getting a high-quality Halloween Haunted House Decor Ornament file, consider the following checklist:
- File Integrity: Look for listings that provide multiple file formats. A reputable seller understands that different users have different tools.
- Preview Images: Examine the rendered previews closely. Are the details crisp? Is the symmetry correct? Blurry previews often indicate low-resolution source files.
- User Reviews: Read feedback from other buyers. Do they mention successful prints? Did the seller provide helpful support if issues arose?
- Technical Specifications: Verify the recommended scale and material suggestions. Sellers who provide detailed instructions demonstrate expertise and care for the end user.
Final Thoughts on Customization
The true value of digital ornament files lies in customization. Once you have mastered the basics of printing or cutting, you can experiment with finishes. Stain wood for a dark, gothic look. Paint acrylics with metallic flakes for a magical glow. Combine different materials, such as a wooden frame with a translucent acrylic center, to create layered effects.
Remember that the Halloween Haunted House Decor Ornament is just one part of your overall decoration strategy. Use it to complement larger displays, creating focal points that draw the eye. By understanding the technical aspects of these files and avoiding common mistakes, you can produce professional-grade decorations that enhance your haunted house theme or holiday celebrations. Whether you are crafting for fun or profit, the ability to adapt and refine your process is what separates a good project from a great one.